moneytree login
4 results found
-

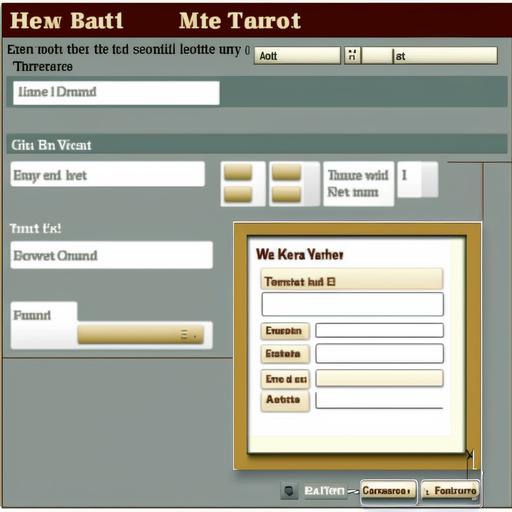
Prompt: Create the following 5 layouts: 1. Authorization stage: - Login to the system is made using E-mail or mobile phone number; - After entering the password, the employee clicks on the "Log in" button and goes to the page with the main menu. 2 Main menu Active buttons: - "New Report" - "Saved Reports" - "Exit" - return to the authorization stage. 3 My Profile - FULL NAME; - City; - Position; - The head. 4 New report (creating a report) When switching from the main menu to the page for creating a new report, first of all you need to select the edematous period (month, year). Then each expense item is filled in separately separately: - Representation expenses; - Travel expenses; - Car expenses; - Other expenses; The total amount is calculated automatically. After all the expense items are filled in, the user can simply save the report or immediately send it to his supervisor for verification, who will then send it to the inspector. When selecting the "Date" column, the user has a calendar on the screen that allows him to select the desired date or period. The user should be able to attach documents to each expense item. 5 Saved reports After the user has created a new report, he can save it or immediately send it for review. As soon as he has selected one of the actions, the report can be immediately seen on the "Saved Reports" page. On it you can see the status of the submitted report (not accepted, accepted, sent for review, saved). If the reviewer does not accept this report, the user should have a reason displayed. The columns "Month", "Year", "Statute" should be able to filter for a quick search for the desired report.
-
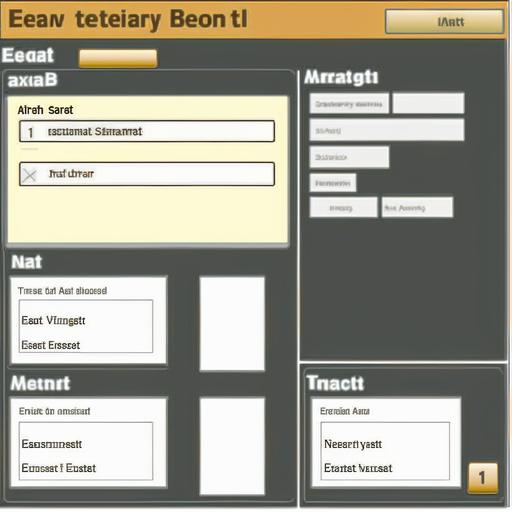
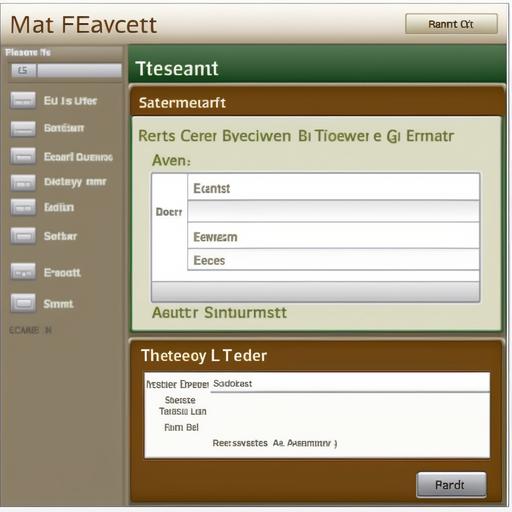
Prompt: Create the following 5 layouts: 1. Authorization stage: - Login to the system is made using E-mail or mobile phone number; - After entering the password, the employee clicks on the "Log in" button and goes to the page with the main menu. 2 Main menu Active buttons: - "New Report" - "Saved Reports" - "Exit" - return to the authorization stage. 3 My Profile - FULL NAME; - City; - Position; - The head. 4 New report (creating a report) When switching from the main menu to the page for creating a new report, first of all you need to select the edematous period (month, year). Then each expense item is filled in separately separately: - Representation expenses; - Travel expenses; - Car expenses; - Other expenses; The total amount is calculated automatically. After all the expense items are filled in, the user can simply save the report or immediately send it to his supervisor for verification, who will then send it to the inspector. When selecting the "Date" column, the user has a calendar on the screen that allows him to select the desired date or period. The user should be able to attach documents to each expense item. 5 Saved reports After the user has created a new report, he can save it or immediately send it for review. As soon as he has selected one of the actions, the report can be immediately seen on the "Saved Reports" page. On it you can see the status of the submitted report (not accepted, accepted, sent for review, saved). If the reviewer does not accept this report, the user should have a reason displayed. The columns "Month", "Year", "Statute" should be able to filter for a quick search for the desired report.